
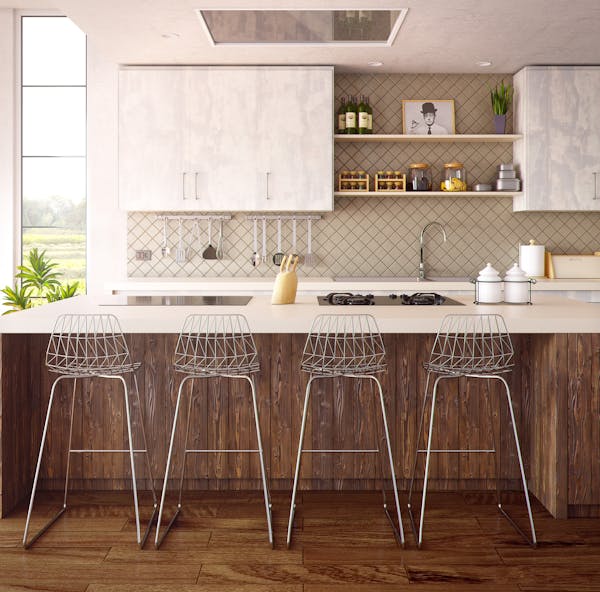
Transform Your Cooking Space!
Organizing your kitchen can seem like a daunting task, especially if you feel like you’re drowning in a sea of clutter.
This guide will provide you with practical, step-by-step tips and tutorials to transform your kitchen into an efficient and enjoyable cooking space.
Step 1: Assess Your Kitchen Space
To-Do:
- Measure the dimensions of your kitchen.
- Identify the different zones and workspaces.
- Note the available storage options.

Tutorial:
- Measure Your Kitchen: Use a tape measure to get the length, width, and height of your kitchen. This will help you understand how much space you have to work with.
- Identify Zones: Divide your kitchen into different zones such as cooking, preparation, and cleaning. This will help in organizing items logically.
- Evaluate Storage: Look at your current storage solutions and identify what needs improvement.
Step 2: Declutter Your Kitchen
To-Do:
- Sort through all kitchen items.
- Discard or donate unnecessary or duplicate items.
- Organize items into categories.

Tutorial:
- Sort Items: Go through every item in your kitchen and decide whether to keep, donate, or discard it.
- Organize: Once sorted, group similar items together, such as baking tools, cooking utensils, and cutlery.
- Clean: Wipe down shelves, drawers, and cabinets before placing items back.
Step 3: Implement Efficient Storage Solutions
To-Do:
- Install adjustable shelves.
- Use drawer organizers.
- Utilize wall-mounted racks and magnetic holders.
Tutorial:
- Install Shelves: Adjustable shelves can accommodate items of varying sizes. Install them in your cabinets to maximize space.
- Use Organizers: Drawer organizers can keep utensils and tools neatly arranged. Use them to avoid clutter in drawers.
- Maximize Vertical Space: Use wall-mounted racks for pots and pans and magnetic holders for knives to free up counter space.
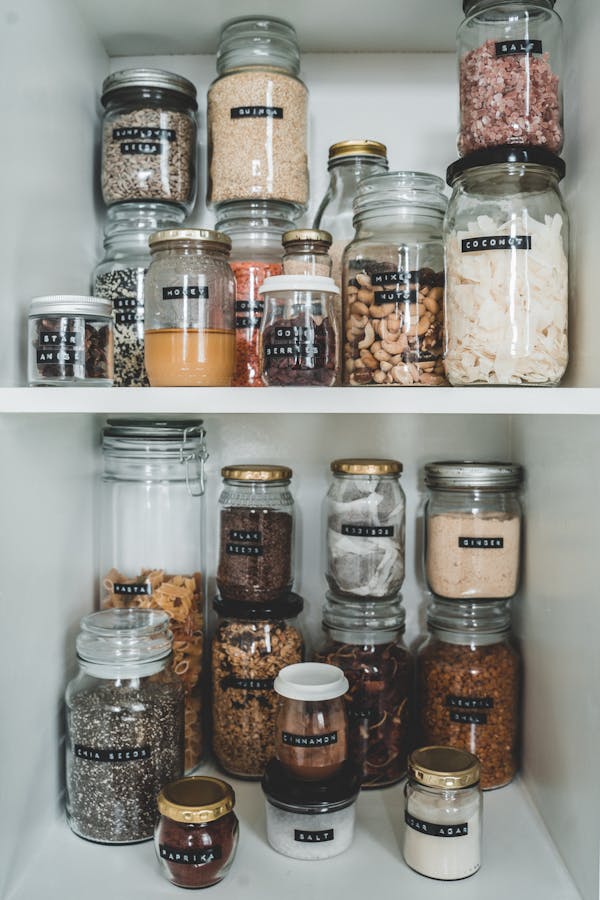
Step 4: Organize the Pantry
To-Do:
- Use clear containers for storing food items.
- Label all containers.
- Arrange items based on expiration dates.
Tutorial:
- Use Clear Containers: Store grains, pasta, and cereals in clear containers for easy visibility.
- Label Containers: Clearly label each container with its contents and expiration date.
- Arrange Items: Place items with earlier expiration dates at the front and those with later dates at the back.
Step 5: Optimize Appliance Placement
To-Do:
- Place frequently used appliances in easily accessible locations.
- Store small appliances in cabinets when not in use.
- Ensure appliances are near necessary outlets.
Tutorial:
- Place Appliances Logically: Consider how often you use each appliance and place the most frequently used ones in accessible locations.
- Store Small Appliances: To avoid clutter, store small appliances like blenders and toasters in cabinets when not in use.
- Check Outlets: Ensure that appliances are placed near the necessary outlets to avoid using extension cords.
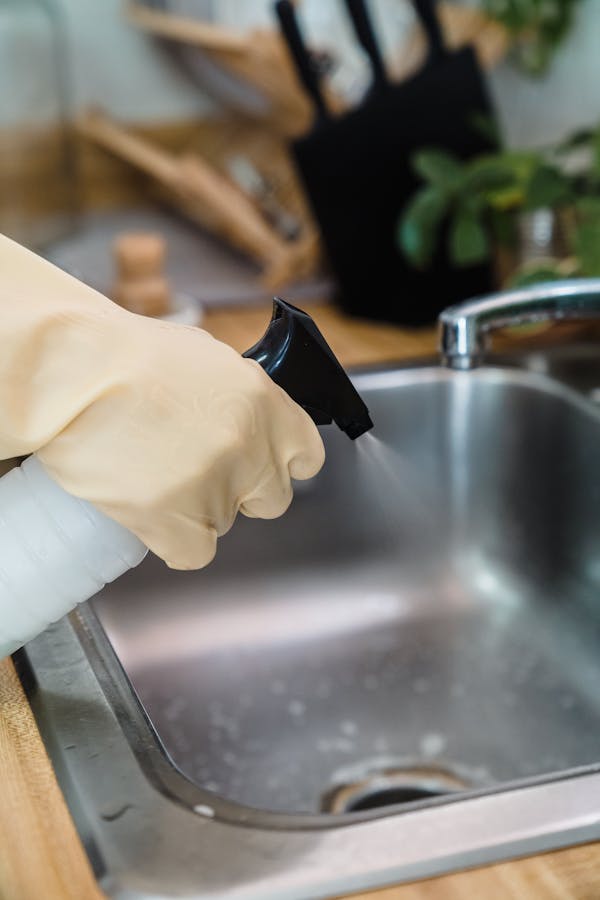
Step 6: Maintain Your Organized Kitchen
To-Do:
- Regularly declutter and clean your kitchen.
- Adjust organizational systems as needed.
- Educate family members on maintaining kitchen organization.
Tutorial:
- Regular Cleaning: Clean shelves, counters, and appliances regularly to maintain a hygienic kitchen environment.
- Adjust Systems: If you find that an organizational system is not working, don’t hesitate to adjust it to better suit your needs.
- Educate Others: Teach family members about the organizational systems in place and encourage them to maintain them.


